- Guides
- The Zapier quick-start guide
- Create your first Zap
Create your first Zap
By Krystina Martinez • Published October 13, 2020
First, make sure you've signed up for a Zapier account. It's free to start!
Before you create a Zap, it's helpful to think about what you're trying to accomplish. For example, let's say you have a contact form on your website. You want to store the form submissions in a Google Sheet, but you don't want to copy and paste them manually.
Start by breaking down the problem you're trying to solve into the following:
- What apps do I want to use? (A form app and a spreadsheet app)
- What event will trigger my Zap? (When there’s a new submission in our form app)
- What action will my Zap perform? (Add the form submission to a spreadsheet)
- What information do I want to move between those apps? "(The contact’s name, email address, and the reason for contacting us)
This is the second of three articles to help you set up your first Zap. Continue learning:

Zapier works with thousands of apps, but available triggers and actions vary by app. To learn more about what's possible with an app on Zapier, search for the app in our App Directory.
We'll walk you through how to set up your Zap with our form-to-spreadsheet example. Here are the steps:
- Prepare your spreadsheet and form.
- Set up your trigger step: Select your trigger app and event, connect to your app account and customize your trigger event, and test your trigger.
- Set up your action: Select your action app and event, connect to your app account and customize your action event, and map your fields.
- Test your Zap.
Need help setting up automation for your business? Zapier Experts are certified consultants, freelancers, and agencies that can help you do more with automation. Visit our Experts directory to help you find the right Expert to work with.
Before you get started
Create your form and enter a sample submission. It's helpful if you use information that will be recognizable to you later. For example, instead of using random characters, enter something that will make sense—you will use that data in Zapier to test your Zap. (We recommend using superhero names or fictional characters so you won't confuse your test with a real submission.)
Create your spreadsheet, and be sure to name your columns. This will be important when you set up your Zap.
Set up your trigger
The Zap editor is where you'll create new Zaps and edit existing ones.
Remember: A trigger starts your Zap. (Think of it as the WHEN of any automation.)
Select your trigger app and event
When you open the Zap editor, you'll be prompted to pick an app as your trigger.
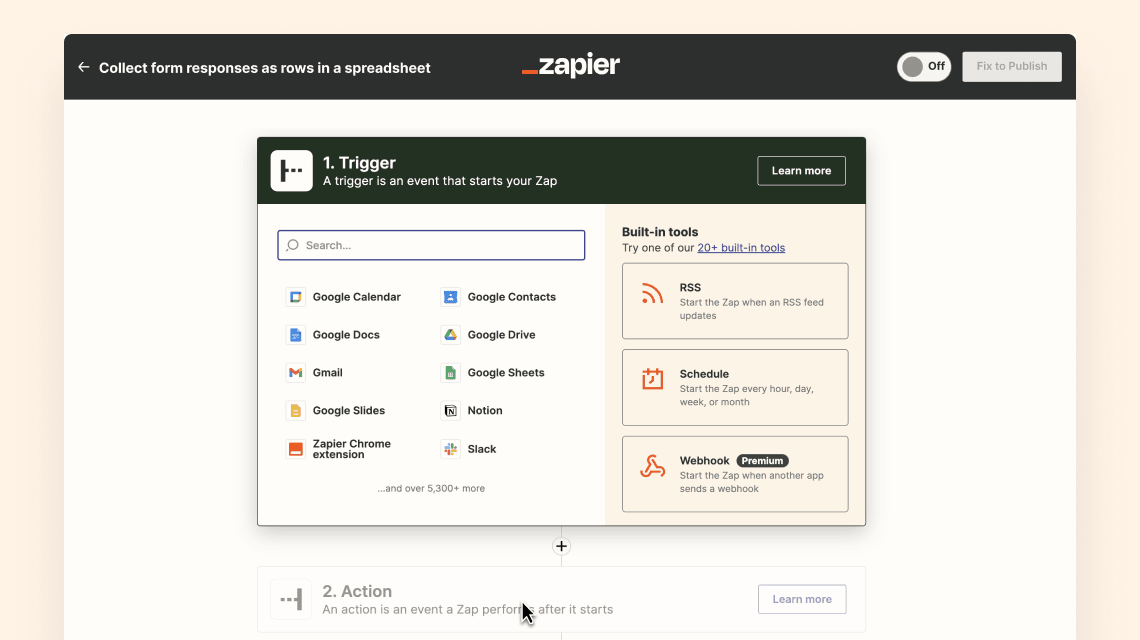
You'll see the apps you use most frequently, built-in apps from Zapier, and popular apps. You can select from one of these, or look for the app you want to use in the search bar. If you're starting from a Zap template, what we call a pre-made Zap , this will be selected for you.
Next, you'll be asked to choose a trigger event. This is the event that happens in your trigger app that signals Zapier to start your Zap. In this case, it's when a new form entry comes into our form app.
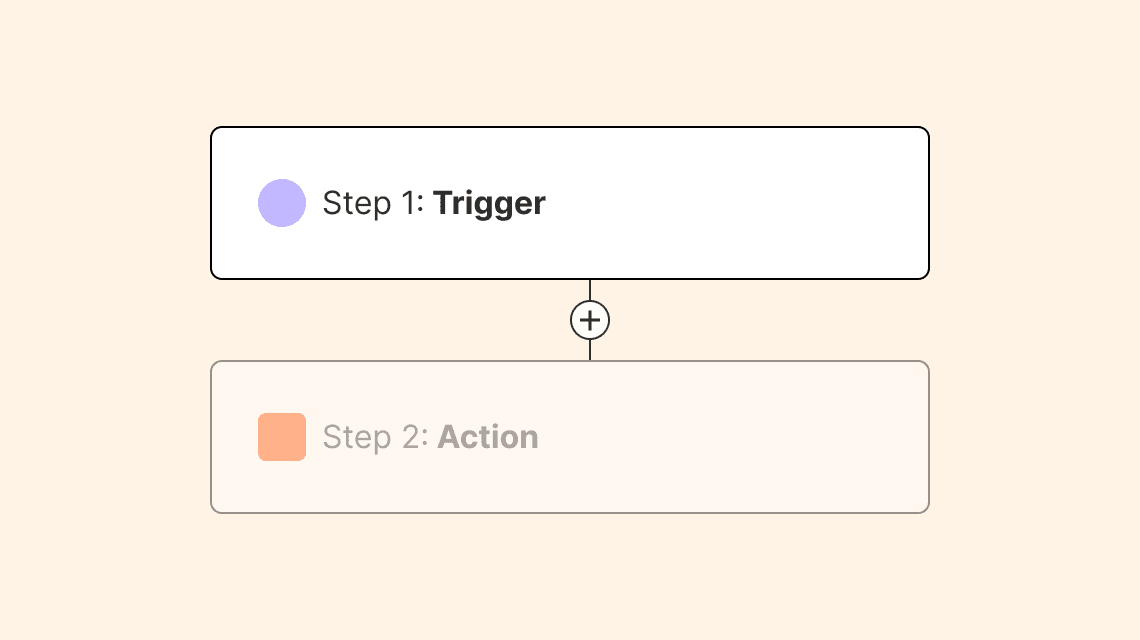
Trigger events vary between different apps and app types. For example, a task management app might have New Task as a trigger, while a spreadsheet app could have Create New Row.
Connect to your app account and customize your trigger event
You'll be prompted to sign into your app account if you haven't connected it before. Once you've connected your app, select the account you want to use with your Zap.
Note: For each app you connect, Zapier will ask for a general set of permissions which allows you to be flexible with your Zaps. The only actions Zapier takes on your app accounts are those a given Zap needs to accomplish what you've set up.
Next, you'll customize your trigger event. Click the dropdown menus in this step to select the right options. In this case, we need to select the specific form we want to trigger our Zap.
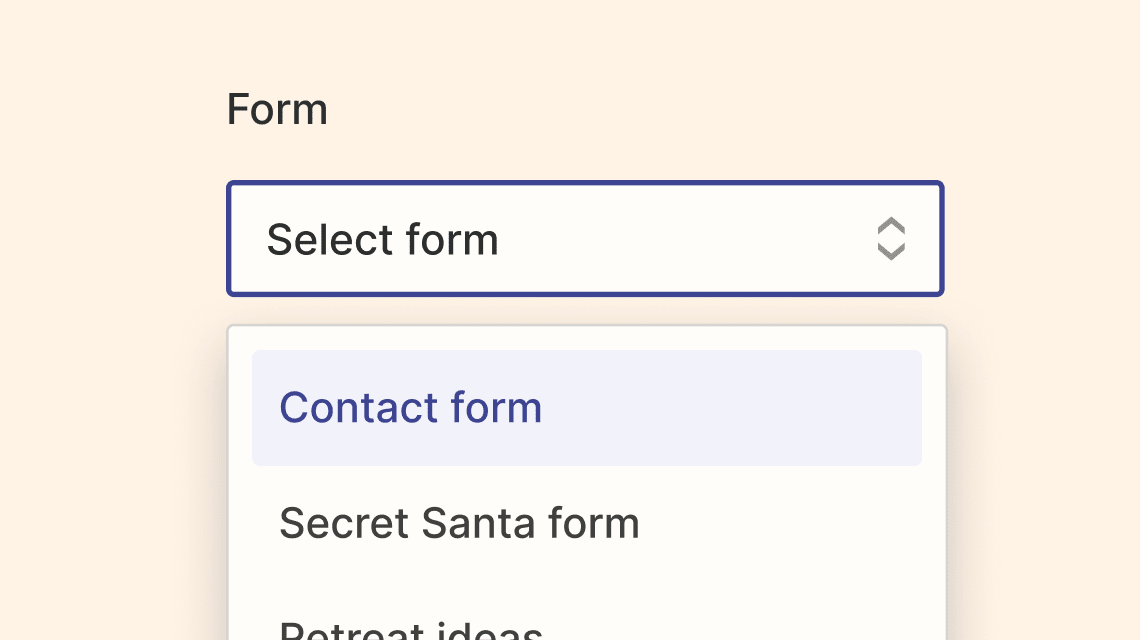
Customizing your trigger event will look different, depending on your trigger app. Sometimes, you might not need to do any further customization.
Test your trigger
Once you've set up your trigger, you need to test it to ensure it works. When you click Test trigger, Zapier will look for data that already exists in your trigger app account and pull that information into the Zap editor. That means you need to have one real instance of your trigger so Zapier can use it as a "sample submission." Tip: If your Zap will involve sending information to someone (like an email), it's helpful if your test information uses your own email address or contact info for someone else in your company.
In this example, we need at least one form submission to already exist in our form app in order for Zapier to use it as a "sample submission." Zapier pulls in the last form submission that our form app received. If a submission doesn't exist yet, try submitting a form before testing your trigger.
When you test your trigger, Zapier is only looking for information. It's not posting or changing any information that already exists in your trigger app.
While you have the option to skip this step, it's important to follow through. Testing your trigger ensures that Zapier can find the information you want. You'll also use this information in later steps as you continue setting up your Zap.
Look through your test data to confirm that it is pulling in the right information from your trigger event. When you're happy with your test information, click Continue. The Zap editor will take you to set up the action step of your Zap.
Set up your action
The action is the DO part of your automation. Actions are the events you want your Zap to perform after your trigger occurs. Without an action, you don't have a complete Zap.
Select your action app and event
Just like you did with your trigger, select your action app—this time by clicking the dropdown menu and searching for your app. Once you've selected your app, choose your action event—which is what you want your Zap to do—in the second dropdown menu. If you're using a Zap template, your action app and event will be pre-filled.
In our example, we want to add form submissions to a spreadsheet. Select your spreadsheet app, and then choose the event that will create a new row. When you're done, click Continue.
Just like with trigger events, action events vary between different apps and app types. For example, one spreadsheet app might have an action event to "create" a new row while another's event is called "add" a new row.
Connect to your app account and customize your action event
Next, you'll be prompted to sign in to your action app account if you haven't connected it before. Once you've connected your app, select the account you want to use with your Zap. Click Continue when you're done.
Next, the Zap editor will prompt you to further customize your action event. You will usually see Customize [action event] in the editor.
Zapier separates the data that comes in from your trigger event into individual pieces, which can then be used in your action fields.
In order to get your information from App A to App B, you need to tell Zapier what information from your trigger app should be sent to which place in your action app. We call this "mapping" those fields.
Map your fields
In this example, you'll see our labeled spreadsheet columns are now fields for us to fill in with information from our form app. (This is why it's important to label your spreadsheet columns!)
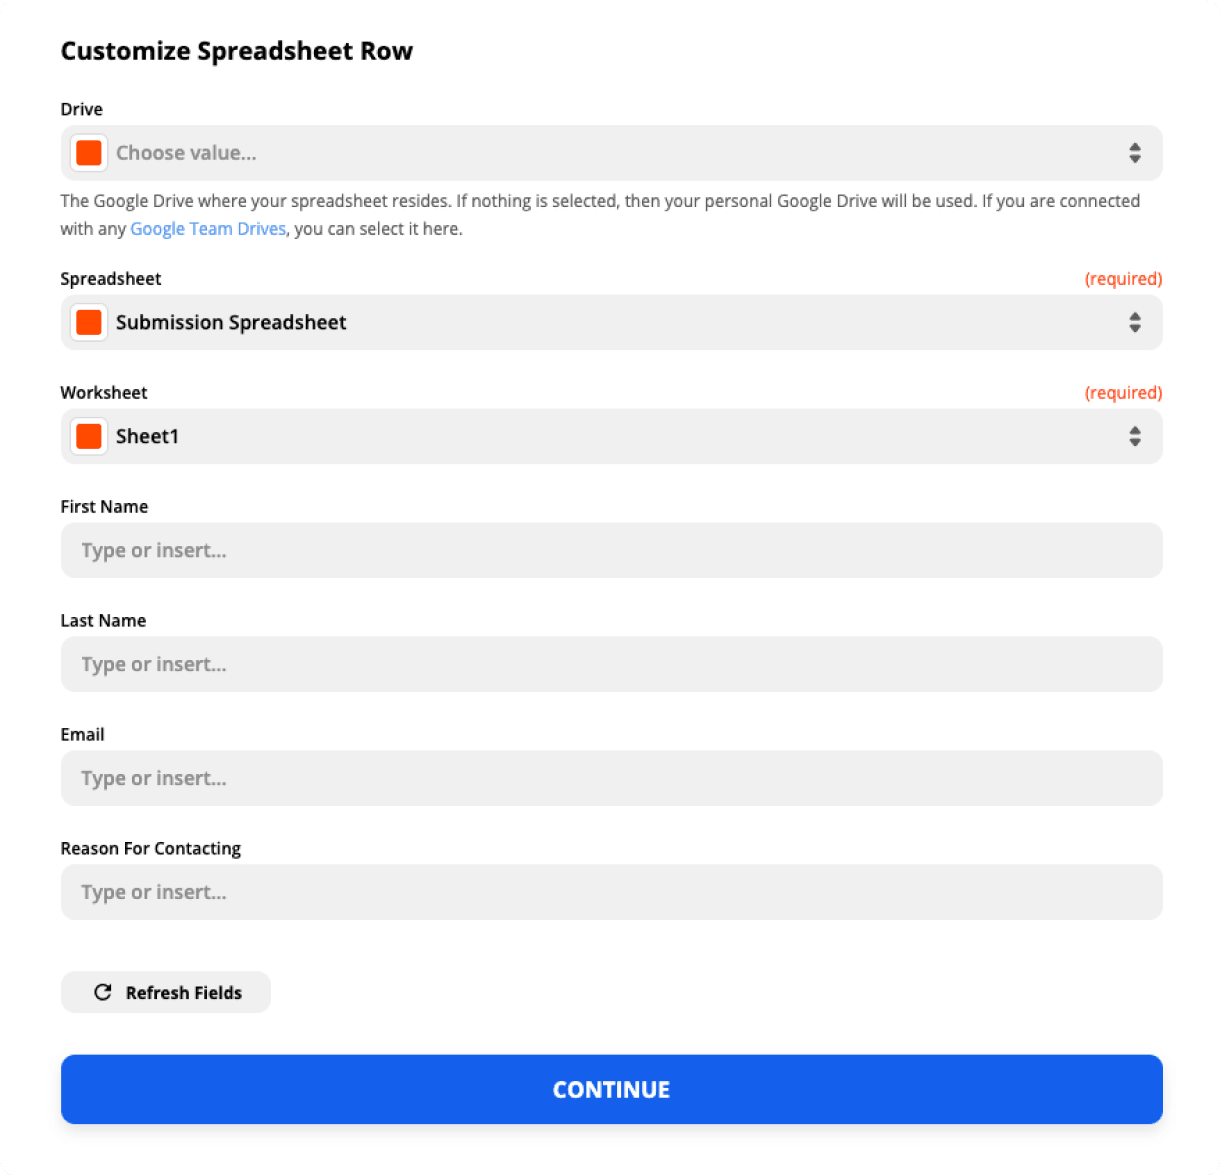
If you want to use information from your trigger app, click an empty field (where you see "Type or insert…") within your action step. A dropdown menu will appear with pieces of data from your trigger app.
The dropdown menu will show only a few options to start. If you don't see what you're looking for, click Show all options to see the full list. What you see will vary, depending on your trigger app.
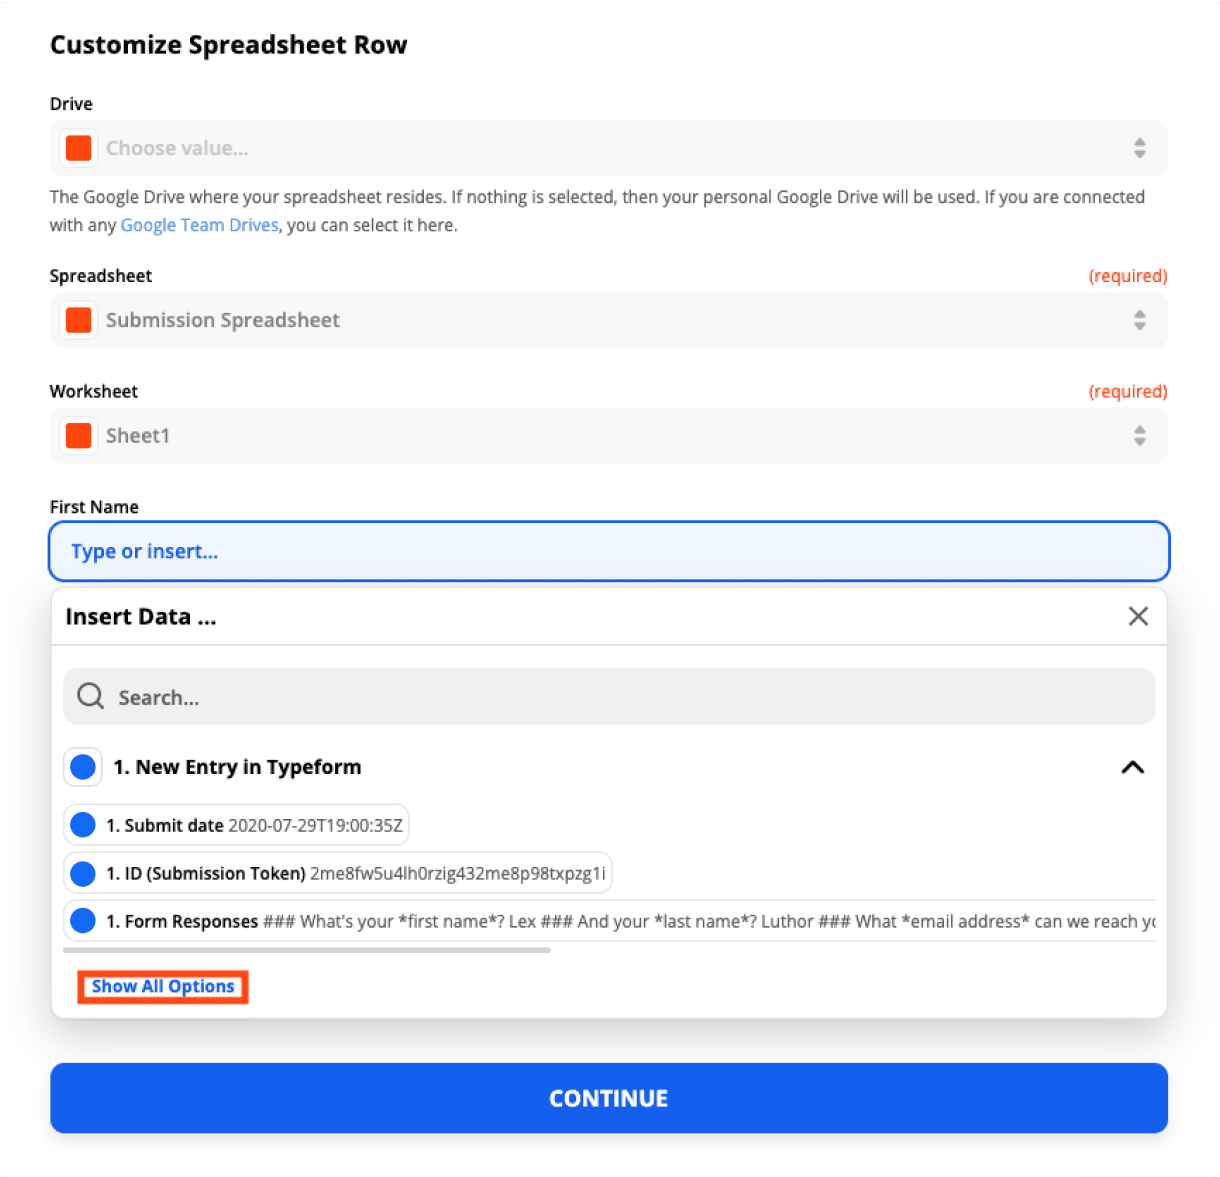
Then, select the information you want to add to each field. Think of it like multiple choice: You can select one option or several, and can add custom text. And unless a field is labeled "required" in red, you don't have to add an option.
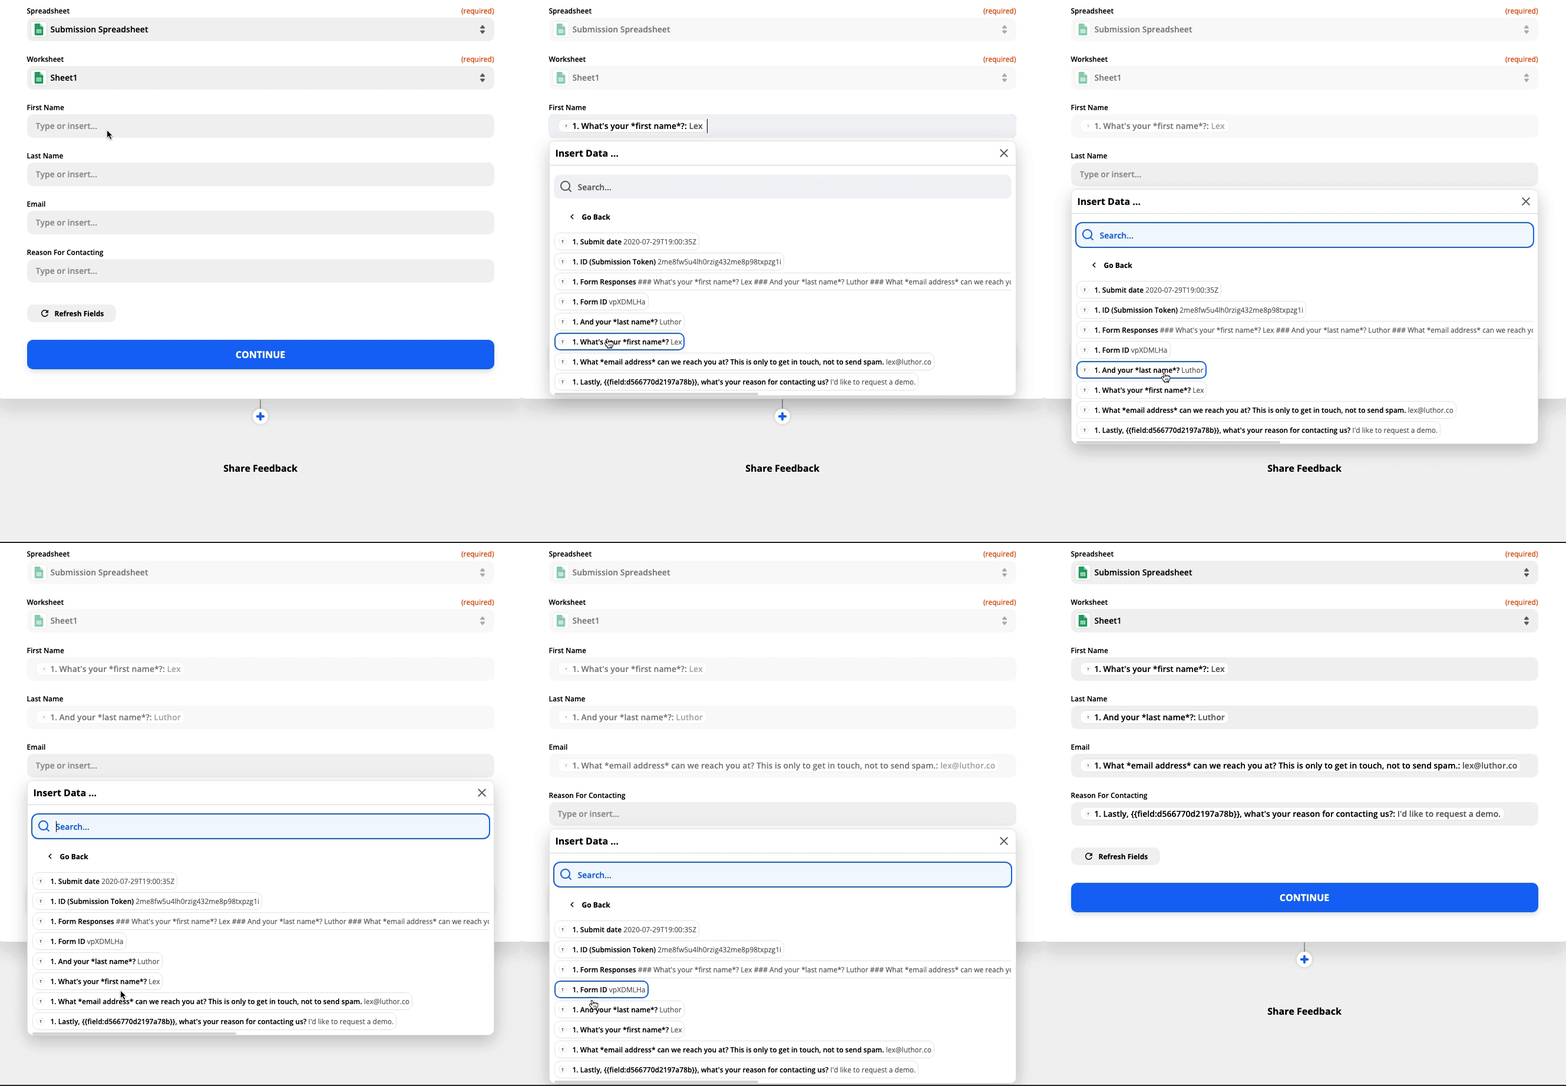
When you map a piece of data—such as a contact name—what you see in the editor is a placeholder. This placeholder data will only be used by your Zap when you test it. When your Zap is turned on, real data from your apps will be used when your Zap runs.
Once your Zap is turned on, actual data that comes through your apps will be used when your Zap runs.
For example, we see the name “Lex Luthor” appear when we map it to a field in the Zap editor, as that was the contact name we entered in the test form submission. When the Zap runs, the name of the person who submits the form will be used instead.
If you want the same information to be used in a particular field every time a Zap runs, you can enter text instead.
For example, we want to add the text “Homepage form” to each spreadsheet row the Zap creates, in order for us to know that the submission came from the homepage contact form. In the field labeled Source, we’ll enter “Homepage form.”
Once you've mapped your fields, click Continue.
Test your Zap
After you've set up your action, it’s time to test your Zap. When you click Test & review, Zapier will test your Zap by performing the action, according to how you've mapped your fields in your action step.
You'll see a preview of the action your Zap completed, but it's always good practice to check your action app to see how it looks. (This is why you should use superhero names or fictional characters in your test.)
In our example, we’ll go to our spreadsheet app to check that the right information was sent from our contact form.
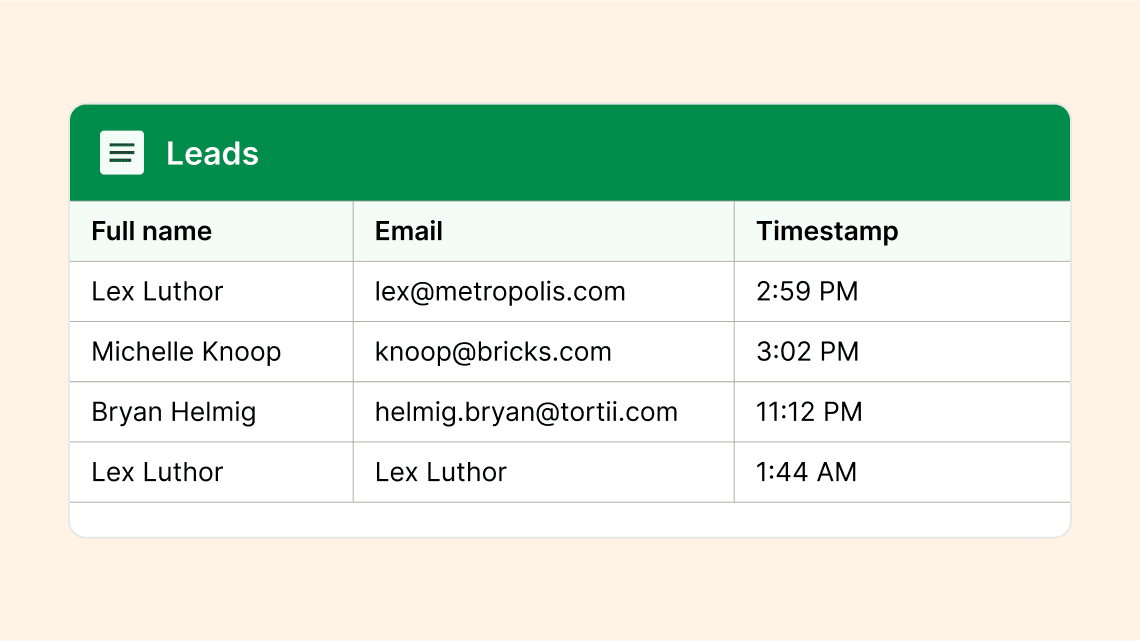
When you test your Zap, Zapier will perform the action in your action app. This means that when we test our example Zap, a new row will be added to our spreadsheet. However, it’s important not to skip the test. The test is how you'll check whether your Zap is working correctly. You can always delete changes made in your action app after you've completed the test.
If something doesn't look right, make any changes you need in the Zap editor and test your Zap again. Once you're happy with how your Zap works, click Turn on Zap.
Note: There are pre-made Zaps—which we call Zap templates—that you can use. Just click a Zap template to begin setting it up. You'll find Zap templates in the App Directory and in many of our blog posts. When you start from a template, you'll find some selections made for you in advance, but you'll always need to connect your app accounts and confirm the setup of each step.
Tasks
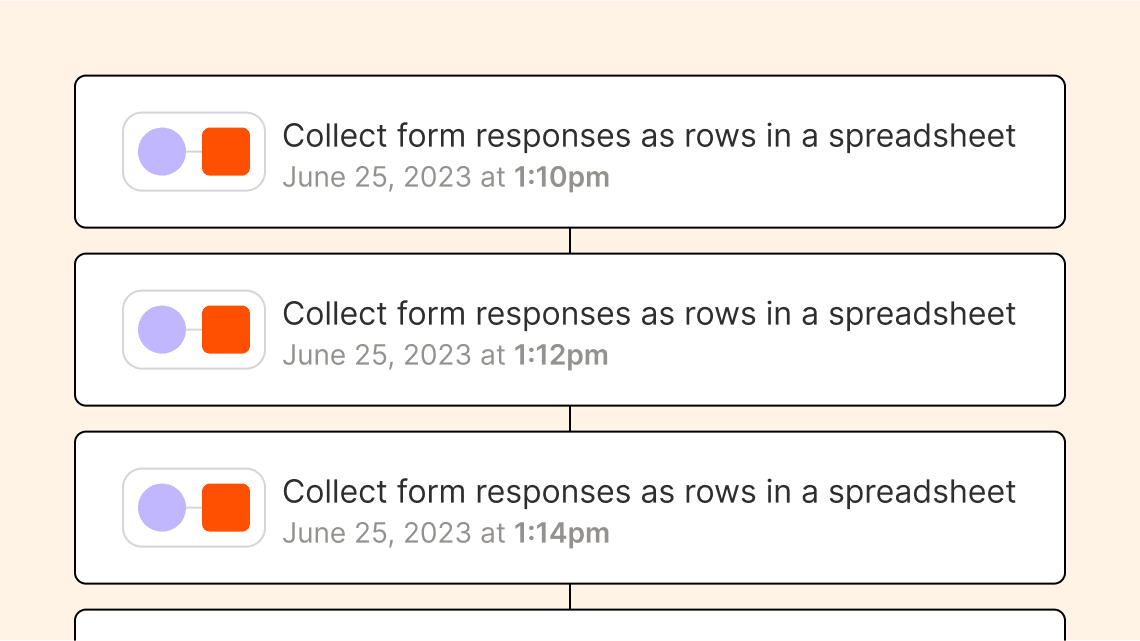
Now that your Zap is up and running, it will automate tasks on your behalf. Remember: Every action your Zap successfully completes is called a task. Tasks are always associated with successful actions.
Previous chapter:
Next chapter: